Sunday, March 20, 2022
10 TIPS FOR IMPROVING YOUR WILDLIFE PHOTOGRAPHY
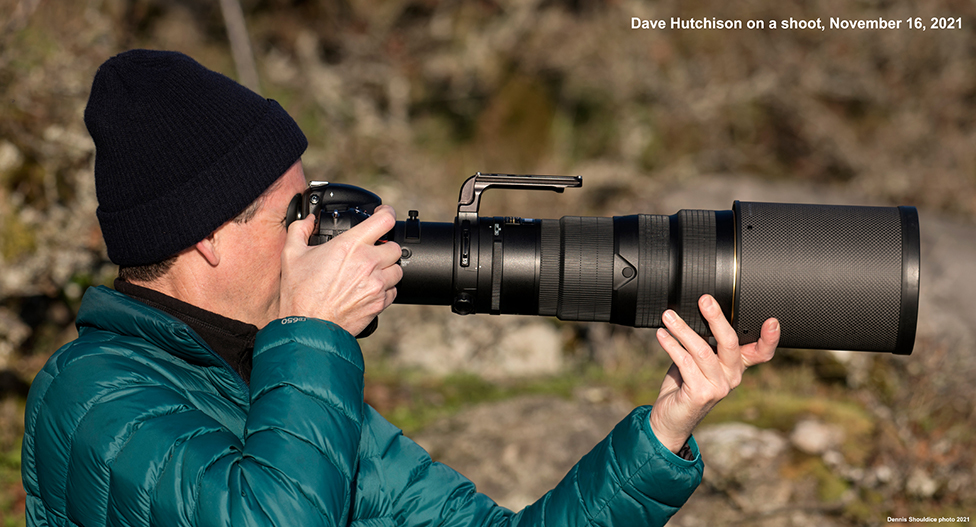 Submitted by Dave Hutchison I have been photographing and exploring the wilds of nature on and off Vancouver Island for close to 15 years. Like any genre within photography, wildlife photography has certain tips and tricks that are valuable for capturing the best possible images.
1. TRIPOD & HEAD - A tripod is a very handy tool for wildlife photography BUT comes with a few catches. Apart from the difference of carbon vs aluminum, which can be found on my previous blog posts, a tripod for wildlife should be heavy duty, and come to at least your eye level. I often use a tripod for wildlife photography when I understand the subject will be more stationary, and I can set up in a location. I also use a gimbal style (Jobu Designs, made in Canada) head that enables the camera to move freely in any direction while mounted to the tripod. A tripod can also be useful to reduce fatigue while waiting for the moment. I recommend the FLM Tripods Canada. Details are available on my website at https://davehutchison.ca/affiliates/
2. HANDHOLDING YOUR CAMERA - Learning how to handhold your camera effectively to get the best results in invaluable. Sometimes tripods are simply not practical. For example, when photographing from a boat, I do not recommend a tripod as they can often get in the way. Often wildlife photography requires a photographer to be mobile, and able to move quickly. I start by putting my hand under the barrel of the lens, not on the focus ring, but on the focal length ring (zoom ring) or in front of the lens if it is a fixed prime lens, and use gravity to your advantage. I often see folks putting their hands on the side or even over top of their lens which is not as effective. When you press the shutter button, roll over the shutter gently with a light press to reduce any extra vibrations. Most modern cameras and/or lenses also have a vibration reduction feature beneficial for handholding. Also, note some lenses have a vibration reduction setting when used on tripods. This makes a difference. Make sure you have the setting correct depending on your setup.
Nikon D500, Nikon 200-500mm f/5.6 VR G at f/7.1, 1/2000, ISO 250, -1/3 EV
3. FAST LENSES AND FAST AUTOFOCUS – OK, we have to talk about camera gear to some degree. Honestly, there is no substitute for fast lenses and fast autofocusing camera bodies. In a perfect world, a prime (fixed focal length) f/2.8 or f/4 lens will be the best for speed and overall quality. The drawback is prime lenses tend to be higher priced, large, and heavy. Technology is lowering the size and weight of many lenses, but not the price. As an example, I currently use a Nikon 500mm f/4 VR G lens which is very sharp and accurate. I do miss some compositions as I am not able to change the focal length unless I move, but I make up for it when speed is required. When a high-quality lens is paired with an equally fast autofocusing camera body, wonderful results can occur. Now there is a big shift where DSLR’s are being replaced by high end mirrorless cameras with electronic shutters that are whisper quiet, perfect for wildlife, have no blackouts between frames with fast autofocus.
4. FULL MANUAL SETTINGS WITH AUTO ISO In the last 5-7 years, there has been a major technology shift where ISO ranges have increased greatly, which has been a huge advantage for wildlife photographers since animals usually move around at dusk and dawn. I now use auto ISO in manual mode for all my wildlife photography. Within reason, I don’t concern myself with the ISO, but focus on shutter speed and depth of field and let the ISO “float” depending on the light available, and the shutter speed and aperture set by the user. This has been a game changer for almost all wildlife photographers in the last 5-7 years.
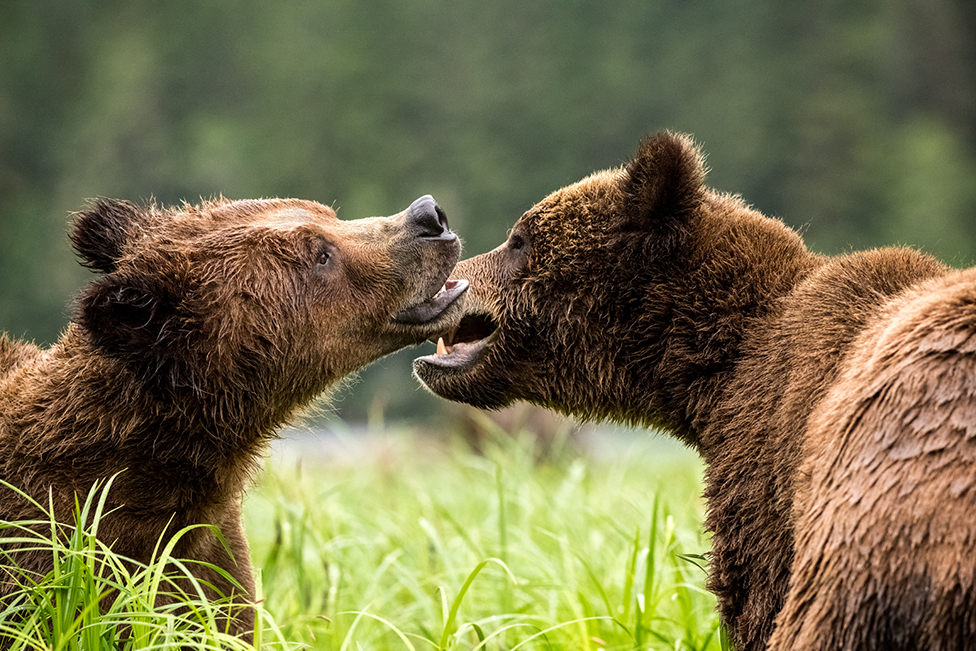
Nikon D850, Nikon 300mm f/2.8 at f/5.6, 1/1250, ISO 5600, -1/3 EV
5. SHUTTER SPEED Knowing your shutter speed is another crucial step towards effective wildlife photography. A rule of thumb is that your shutter speed should at least match your focal length. For example, with a 500mm lens, I would strive to keep the shutter speed at or above 1/500 sec. You do have some leeway with vibration reduction, in body image stabilization (IBIS), but it's a good rule to keep in mind. Here are a few other tips.
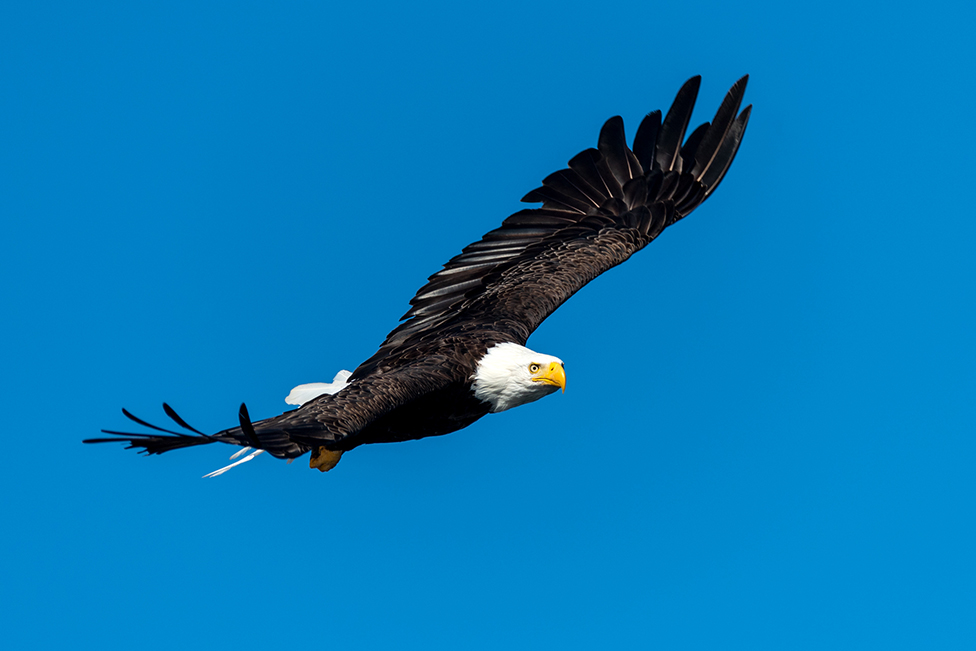
Eagles in flight – 1/1600 - 1/2000 sec
Ducks in flight – 1/2500 to 1/3200 sec
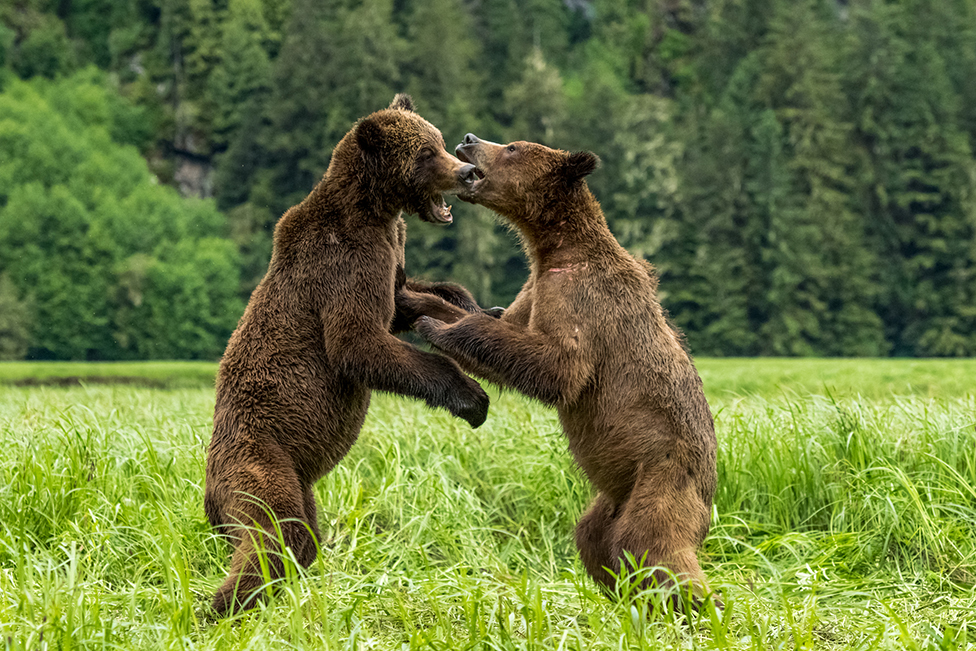
Bears walking through grass, etc. (depending if in boat or on land) – 1/500 – 1/800 sec
Whales breaching – 1/1600 – 1/2000 sec
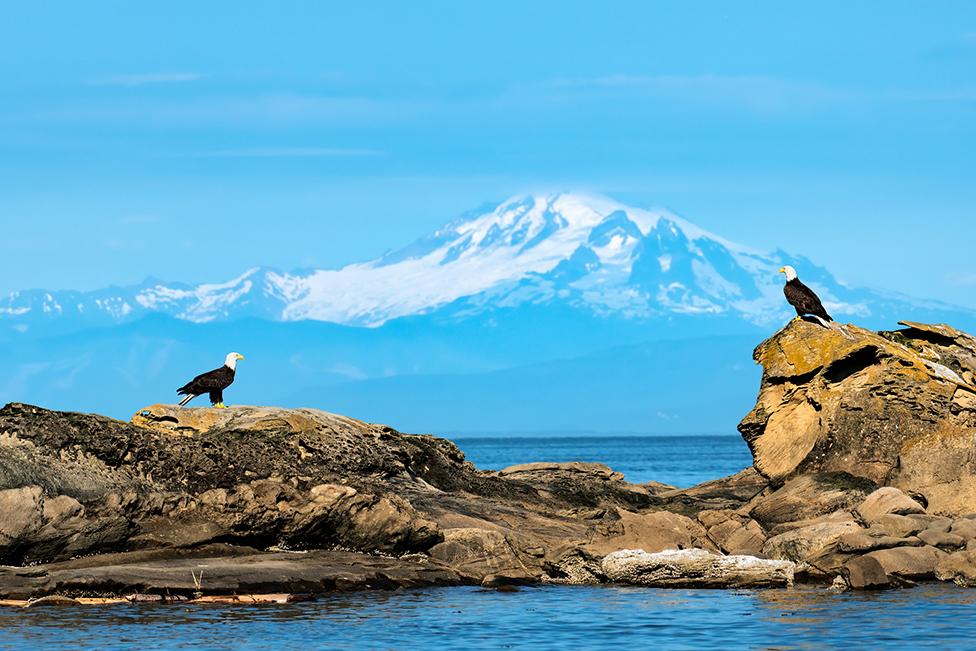
Nikon D5, Nikon 200-500mm f/5.6 at f/7.1, 1/1600, ISO 250, +1/3 EV
6. CONTROL DEPTH OF FIELD Here are four tips to help you control your depth of field which helps make your images pop. First, decrease distance to your subject. Decreasing your distance to the subject will in essence blur your background, and help make the subject stand out from the background. Second, long focal lengths (500mm - 600mm) compress distance and create a shallower depth of field. For example, using a 200mm vs a 500mm lens with the same settings on the composition will reveal very different results for helping make your subject pop. Third, increase the distance between your subject and the background. This can often be achieved by getting low or at eye level to your subject where the background is further away. Lastly, and probably the most obvious is to adjust the aperture of your lens. Photographing wide open at say f/2.8 or f/4 will result in a blurred background in most cases. As you move the aperture to say f/5.6 or f/8, the background will come more into focus.
7. KEEP AN EYE ON YOUR BACKGROUND and any distracting elements. This composition tip is so important. In short, a cluttered or ineffective background can ruin an image with a great subject in no time. I strive for clean, non-distracting backgrounds. A good tip is to scan around your frame, and don’t fall victim to subject fixation. Look around the edges, and make sure the background works, and doesn’t compete with your subject.
Nikon D500, Nikon 70-200mm f/2.8 at f/4, 1/1250, ISO 3600, -1/3 EV
8. ACCESSORY TIP Years ago I learned about a simple accessory that I have put on all my wildlife cameras over the years – a rubber eye cup. A rubber eye will not only reduce eye strain, but also reduce vibration by making a better contact between you and your camera.
9. KNOW YOUR SUBJECT Often I will observe wildlife before I start photographing unless I have previous knowledge. Having the sense of how your subject will move and behave, or not behave, will greatly help you achieve more predictable results. For example, when trying to photograph a whale breaching, check the currents to see if anything is different or changes in the lead up to a breach. Do whales play, socialize, or feed before a breach, etc.? In the birding world, often birds will empty their bowls just before flight giving you the sign to get ready.
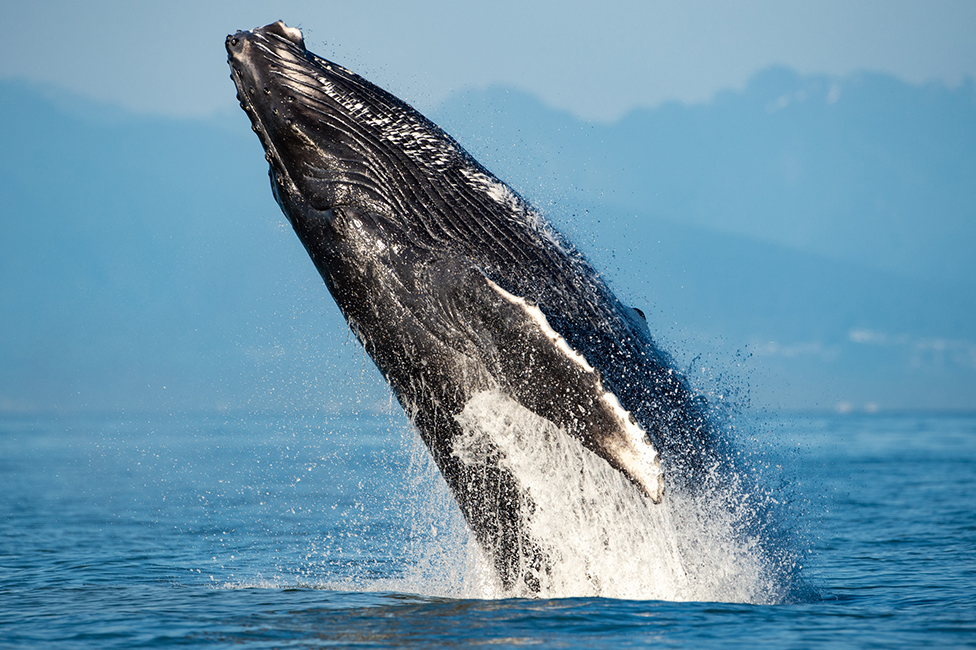
Nikon D4s, Nikon 500mm f/4 VR G at f/7.1, 1/2500, ISO 500
10. EXPERIMENT Last but not least, experiment and try new things. This can mean a blur pan or video of your favourite wildlife, but experimenting is crucial to advancing yourself to another level.
Dave Hutchison is an award-winning landscape and wildlife photographer based near Victoria on Vancouver Island. Dave has been a PPOC member since 2013 and won Best in Class in “Fine Art” at the 2020 PPOC National Image Salon. Dave has three PPOC accreditations – nature, pictorial/floral, and wildlife. Dave is also an International Brand Ambassador for Singh-Ray Filters based in Florida - discount coupon code dhi15 for 15% off at checkout at https://singh-ray.com. Dave leads multi day workshops for landscapes and wildlife photography on the BC coast & The Great Bear Rainforest. Dave also offers webinars & private Zoom sessions around the globe on Long Exposure Photography – “The Art of Seeing What You Can’t See”. Details can be found at https://davehutchison.ca/